
Staging an Image
Upload an image of an empty room, specify a staging prompt, select thestager-1-preview model, then stage the image:
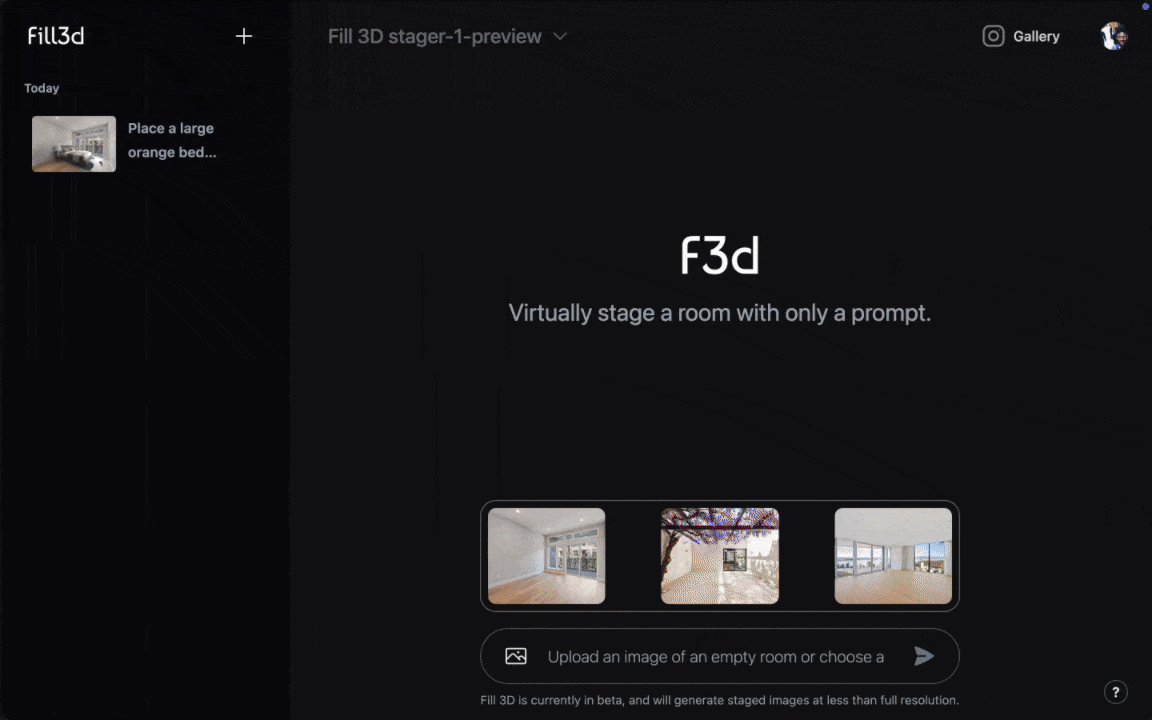
To ensure the best staging results, make sure that your image meets these requirements.
Sharing the Staged Image
You can share the staged image along with the full prompt history with your team members or customers, for provenance or marketing reasons. Use the ‘Share’ button to generate a shareable link: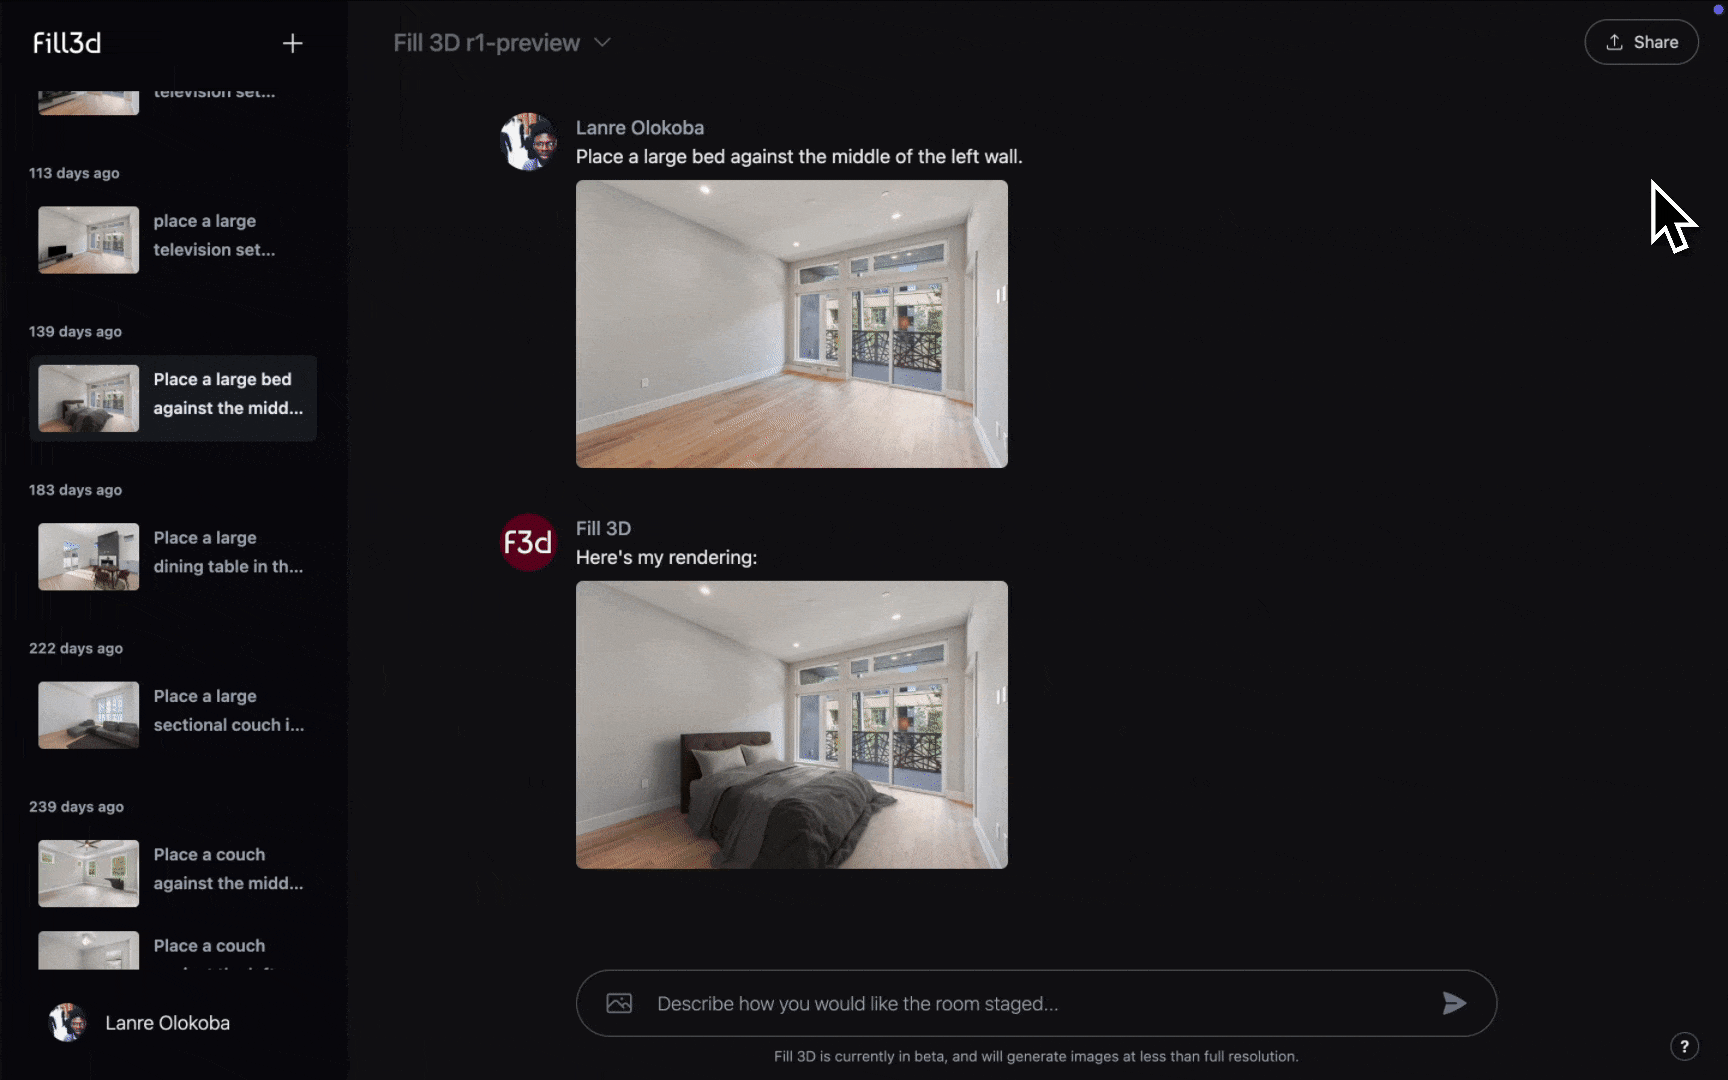
Crafting an Effective Prompt
Our staging AI models are trained to place furniture items procedurally. This means that when you provide a prompt, our staging model will create a set of placements that are then rendered. Below is the recommended prompt structure for creating a placement:Defining the Object
Begin by describing the type of furniture you want placed. The model places bundles of furniture and
understands preferences like color, design, and so on:
Specifying its Location
Make sure to specify the location of the object in relation to walls, windows, or other notable features in the room:
Specifying its Orientation
Describe how the object should be rotated using relational cues. Relational cues can include
walls, windows, other features in the room, and the camera.
If an object is placed against a wall, its orientation will be locked so that it is flush against the wall.